Visualize: Display computed data
Running Web Sites from Wendelin
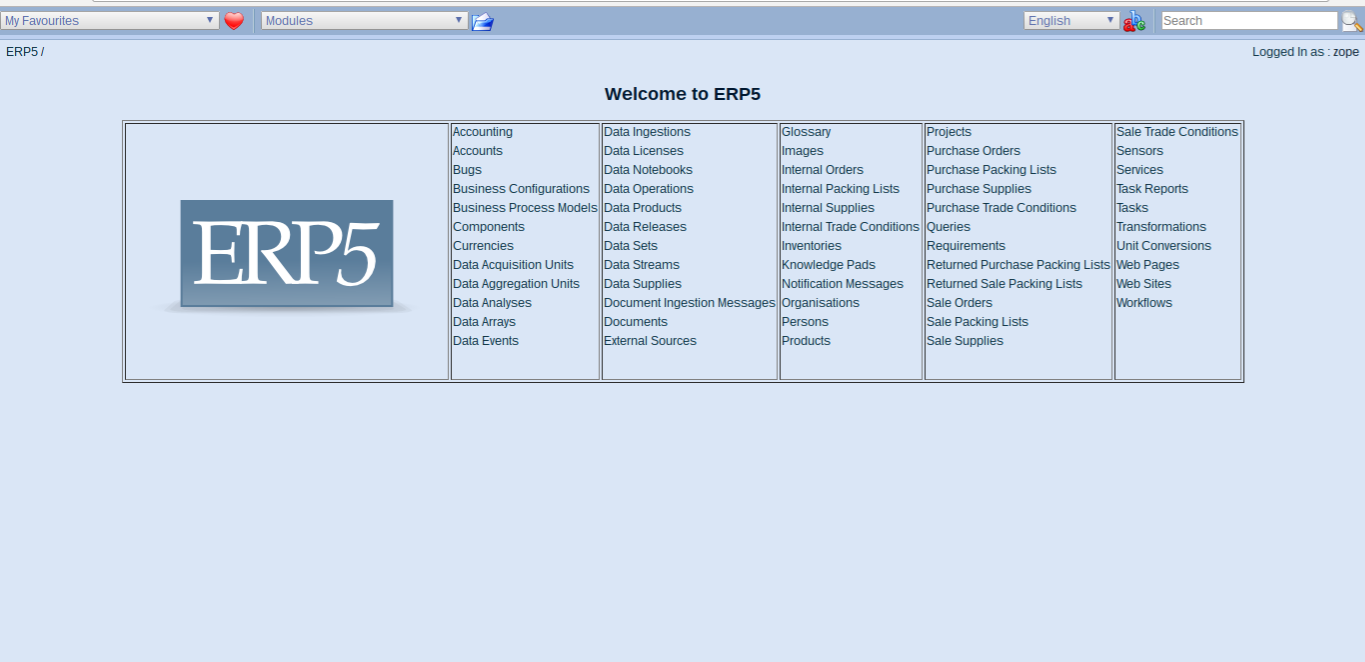
- Last step is to display results in a web app
- Head back to main section in Wendelin/ERP5
- Go to Website Module
WebSite Module
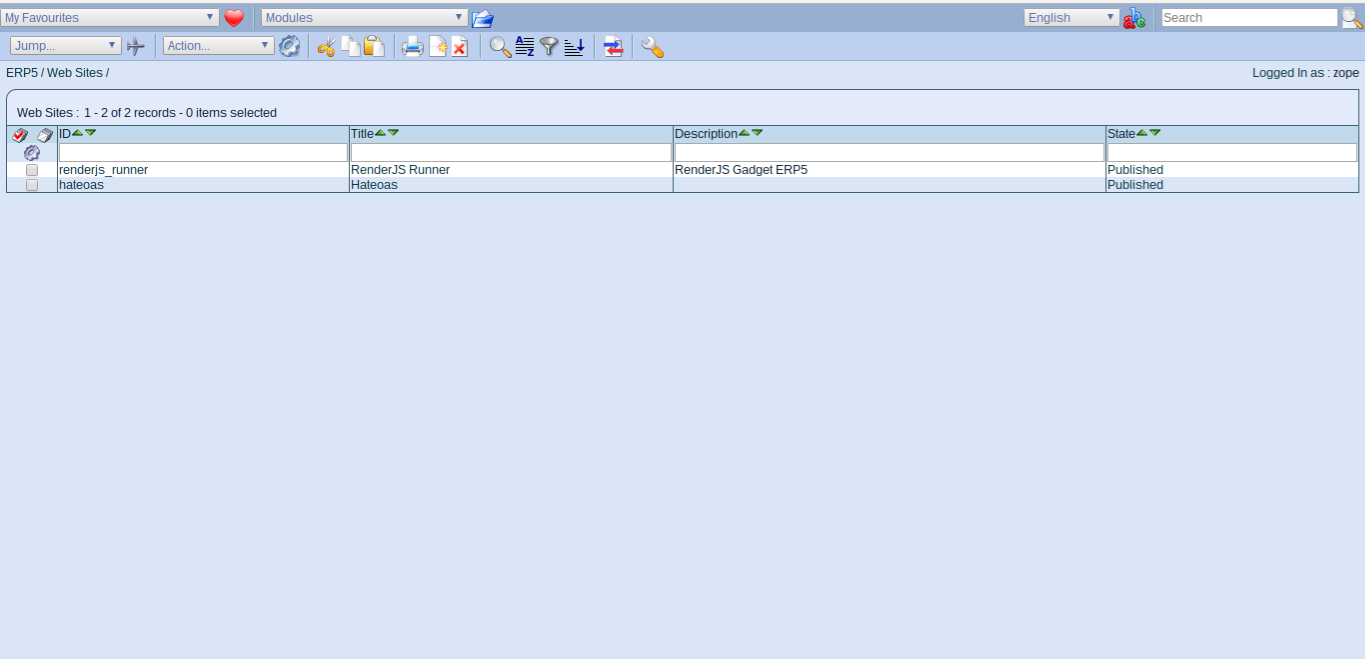
- Website Module contains websites
- Open renderjs_runner - ERP5 gadget interface
- Front end components are written with two frameworks, jIO and renderJS
- jIO (Gitlab) is used to access documents across different storages
- Storages include: Wendelin, ERP5, Dropbox, webDav, AWS, ...
- jIO includes querying, offline support, synchronization
- renderJS (Gitlab) allows to build apps from reusable components
- Both jIO/renderJS are asynchronous using promises
Renderjs Runner
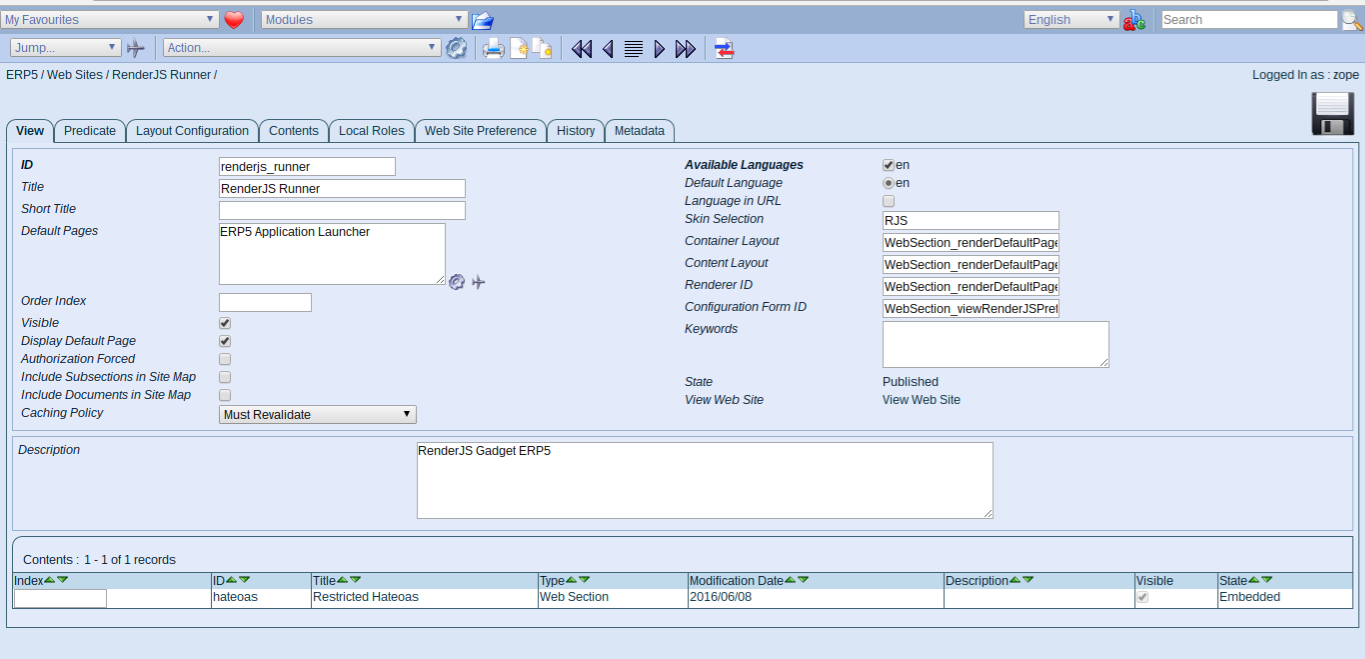
- Parameters for website module
- see ERP5 Application Launcher - base gadget
- Open new tab:
http://softinstxxxx/erp5/web_site_module/renderjs_runner/
- Apps from gadgets are built as a tree structure, the application launcher is the top gadget
- All other gadgets are child gadgets of this one
- RenderJS allows to publish/aquire methods from other gadget to keep functionality encapsulated
Renderjs Web App
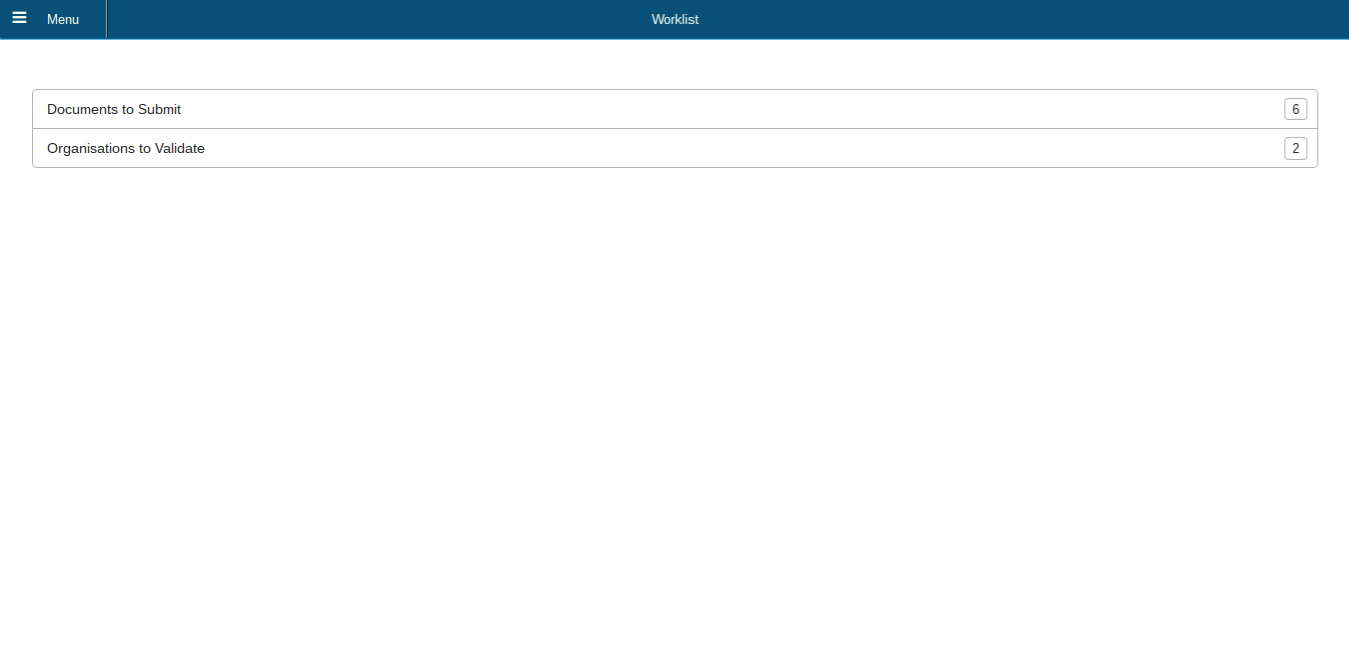
- ERP5 interface as responsive application
- We will now create an application like this to display our data
Todo: Clone Website
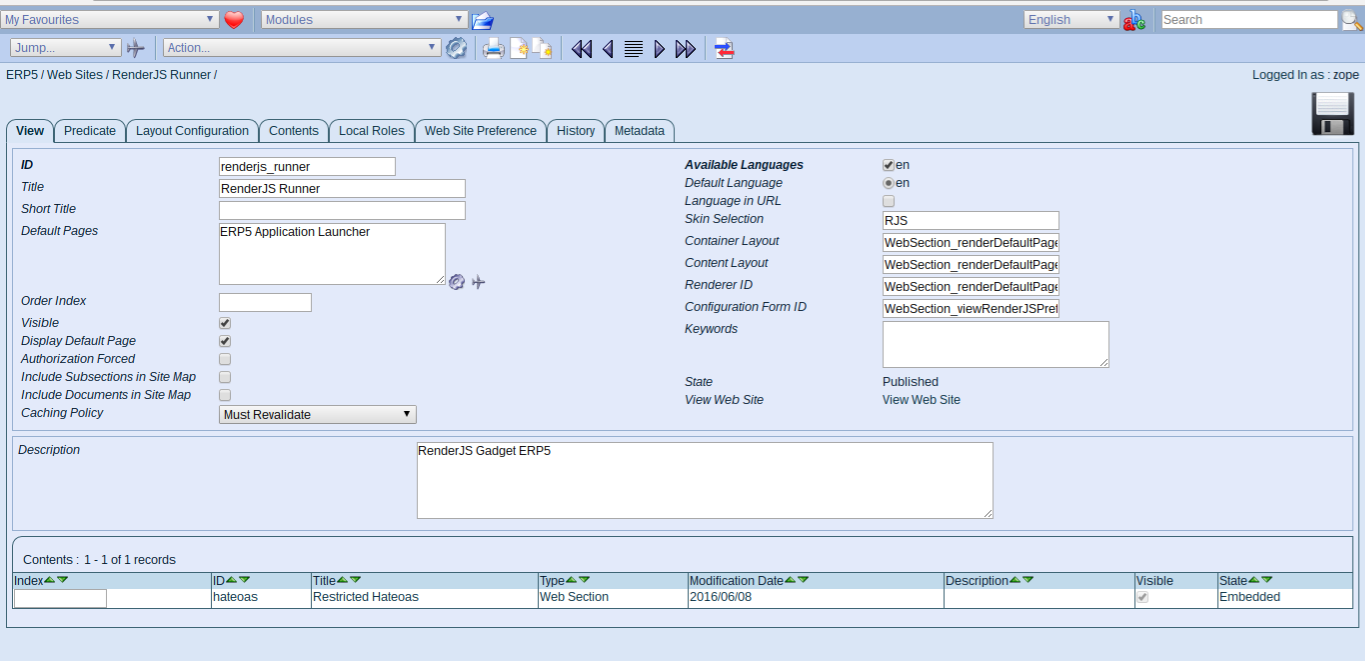
- Go back to renderjs_runner website
- Clone the website
Todo: Rename Website
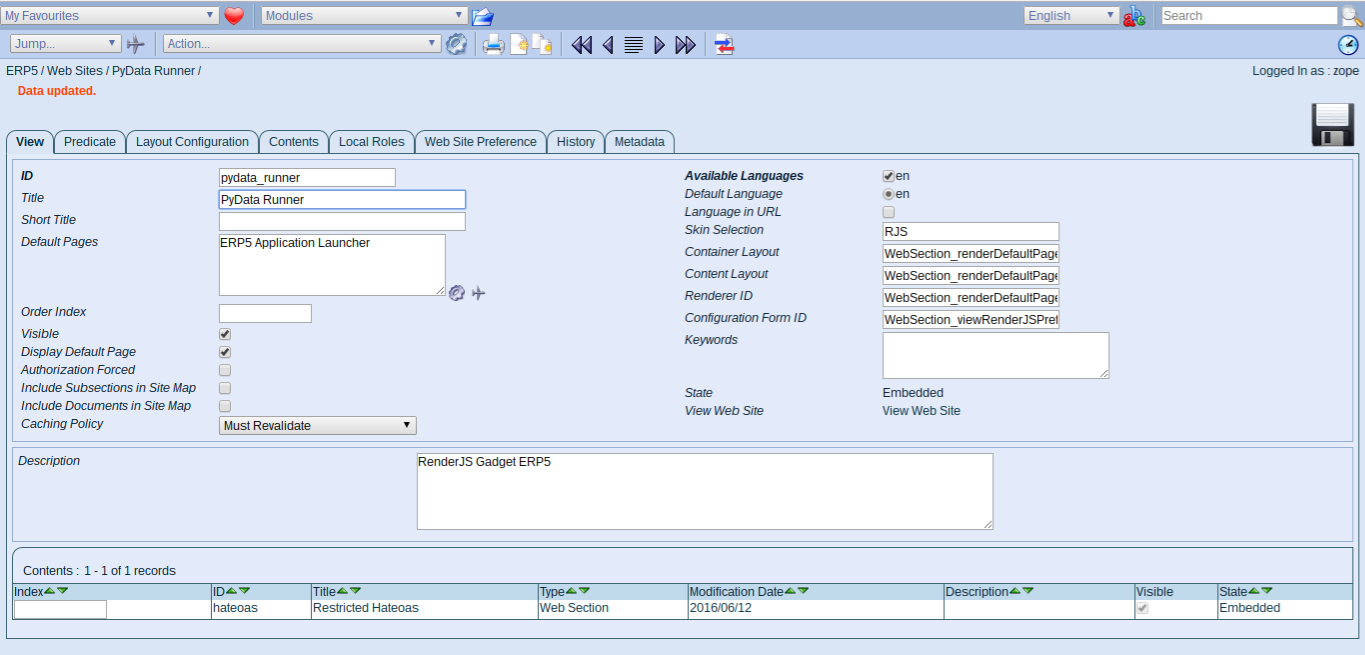
- Change id to pydata_runner
- Change name to PyData Runner
- Save
Todo: Publish Website
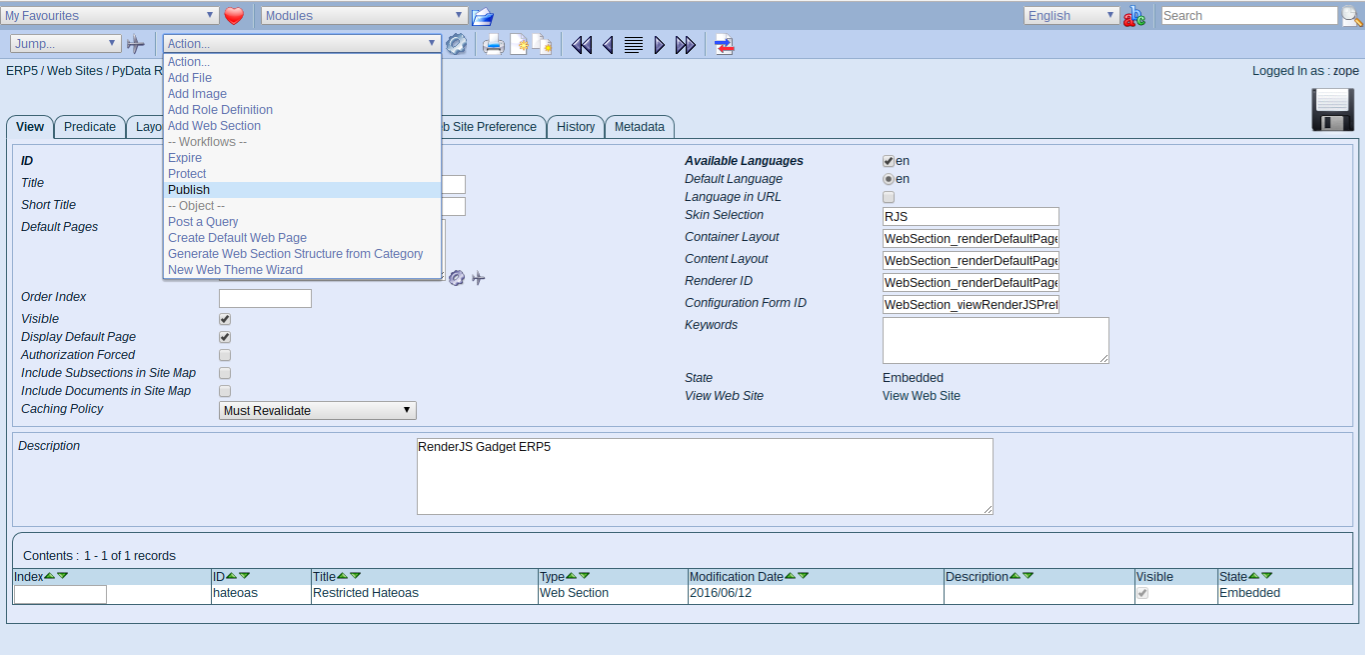
- Select action Publish and publish the site
- This changes object state from embedded to published
- Try to access:
http://softinstxxxx/erp5/web_site_module/pydata_runner/
- Wendelin/ERP5 usese workflows to change the state of objects
- A workflow in this case is to publish a webpage, which means changing its status from Embedded to Published
- Workflows (among other properties) can be security restricted. This concept applies to all documents in ERP5
Todo: Layout Properties
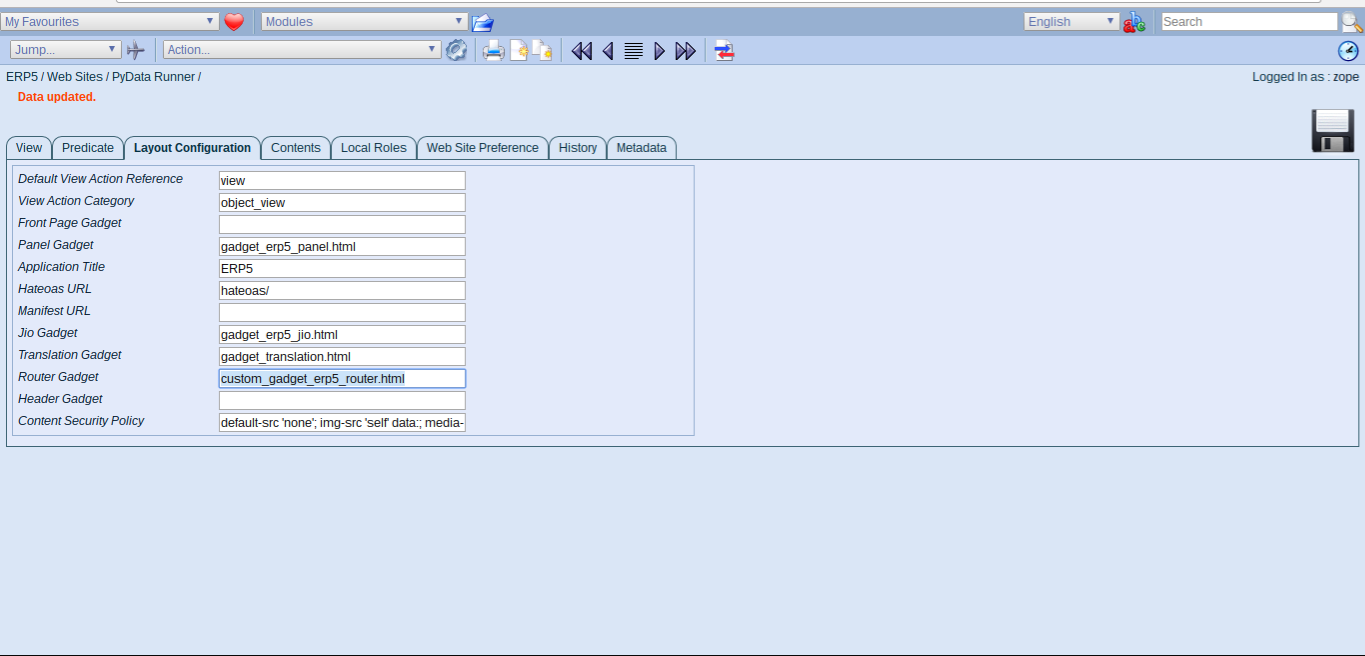
- Change to Tab "Layout Properties tab"
- Update the router to custom_gadget_erp5_router.html
- Refresh your app (disable cache), it will be broken, as this file doesn't exist
- The renderjs UI is also under development, the latest (unreleased) version supports the front pge gadget property
- We currently do a workaround, which also shows how to work with web pages in ERP5
- One advantage working with an async promise-chain based framework like renderJS is the ability to capture errors
- It is possible to capture errors on client side, send report to ERP5 (stack-trace, browser) and not fail the app
- Much more fine-grained control, we currently just dump to screen/console
Todo: Web Page Module
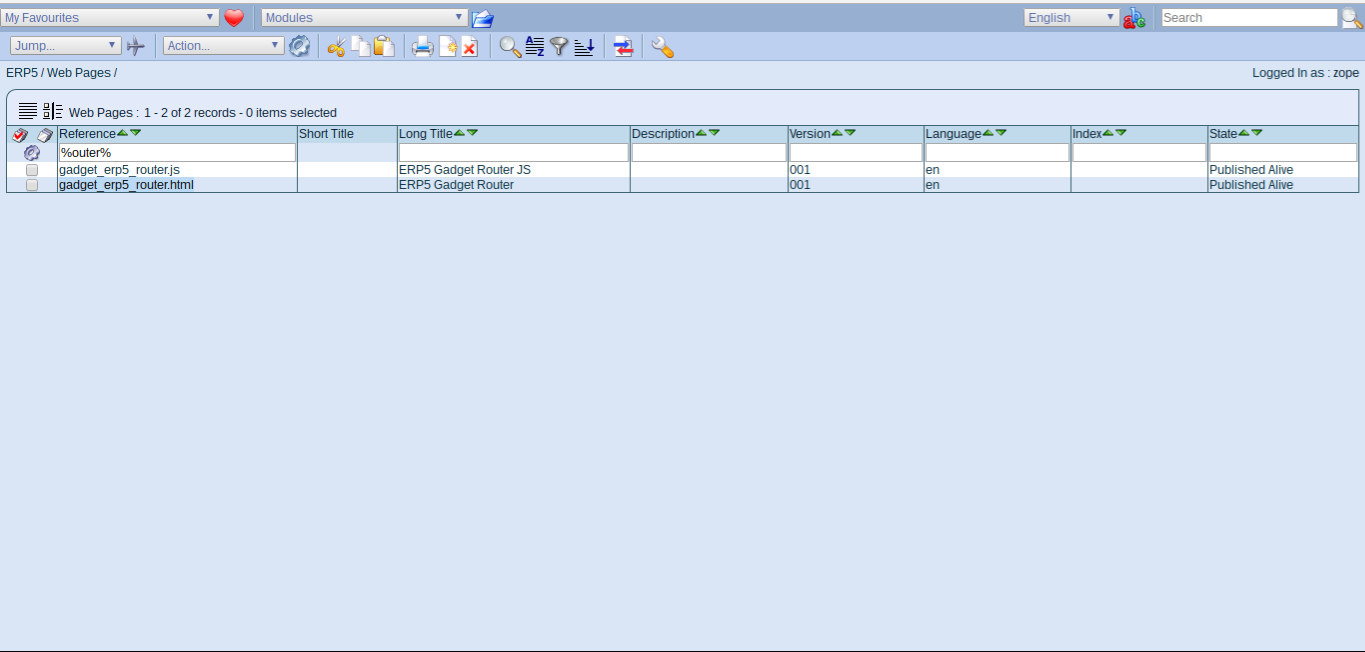
- Change to web page module
- Search for reference "router"
- The web page module includes html, js and css files used to build the frontend UI
- The usual way of working with static files is to clone a file, rename its reference and publish it alive (still editable)
Todo: Clone Web Pages
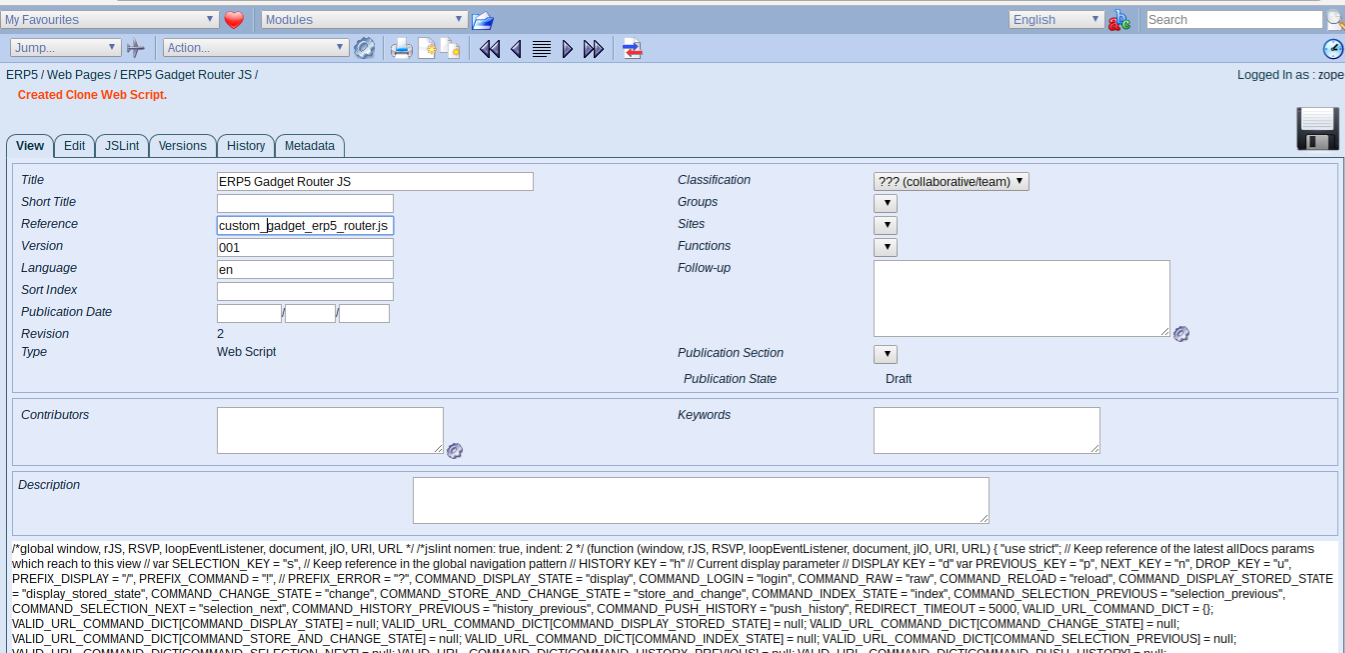
- Open both the html and javascript file in a new tab
- Clone both, prefix the references with custom_ and publish alive
- Click edit tab on the html page
Todo: Prefix JS file to display
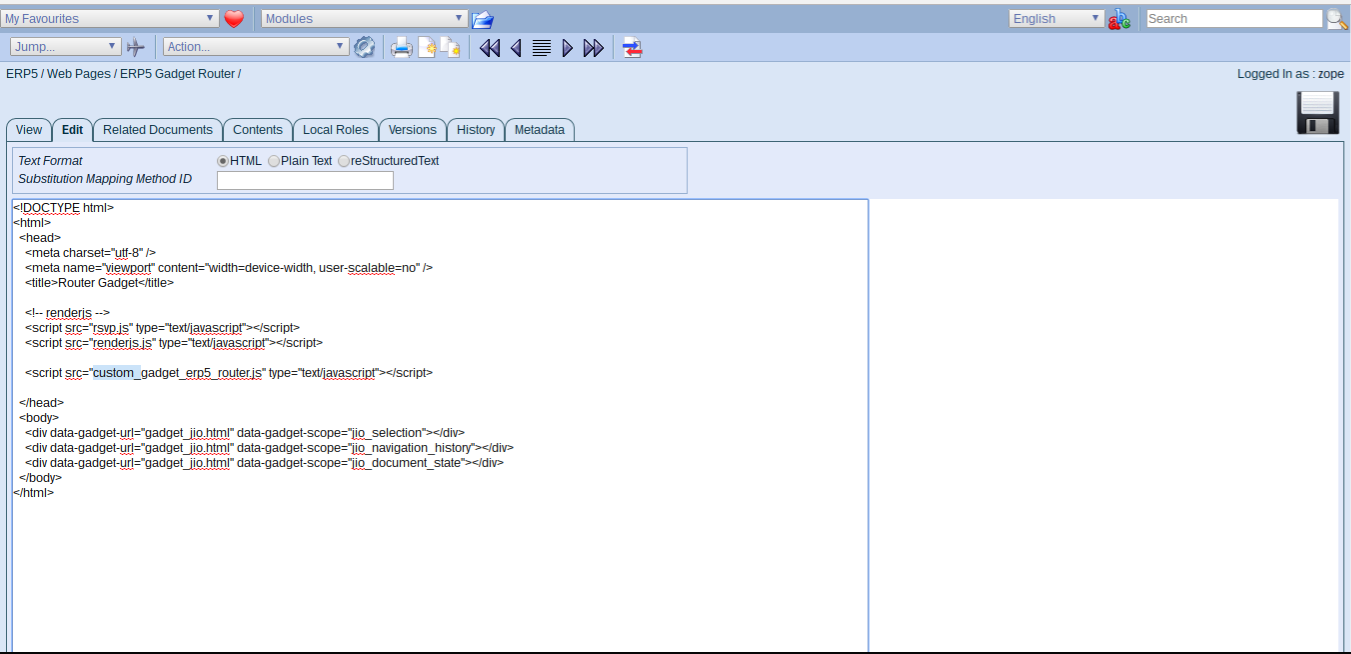
- Prefix the Javascript file to load to the correct reference
- Save, switch to the Javascript file in the other tab
- Click edit tab here as well
Todo: Update Default Gadget
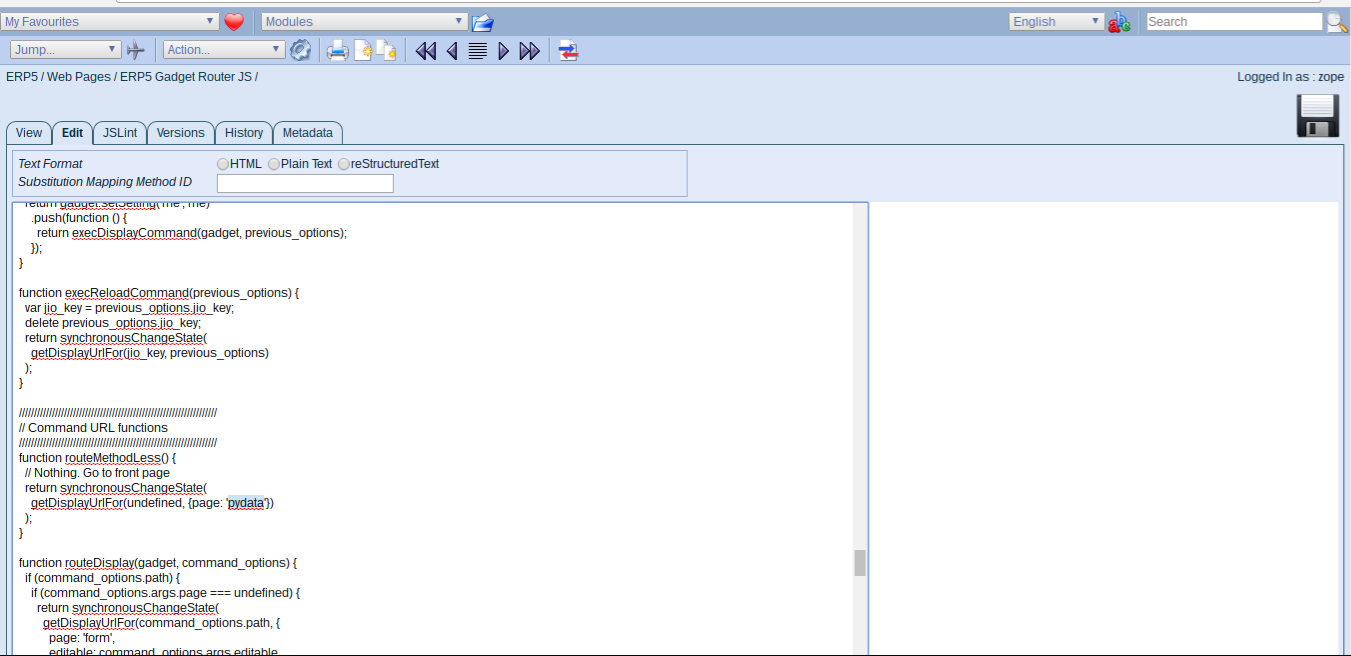
- Look for "worklist" and change it to "pydata"
- Save, we now have a new default gadget to load
- Go back to web page module
Todo: Clone Worklist gadgets
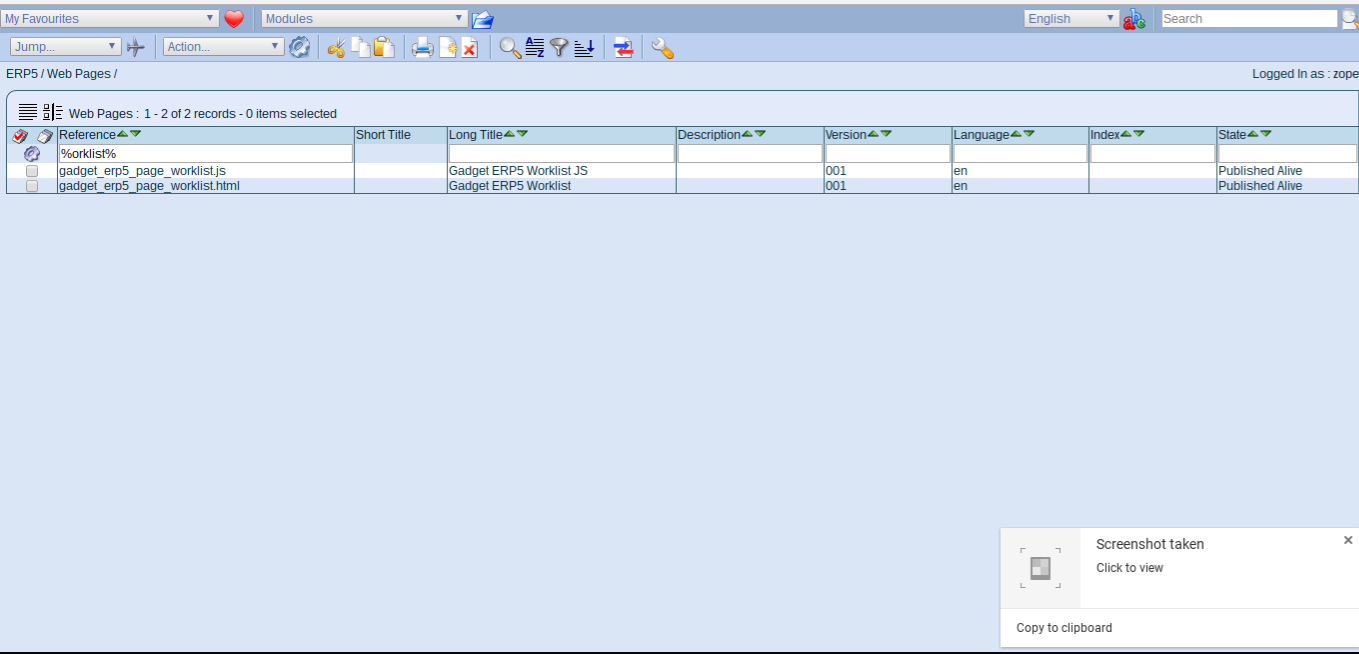
- Search for %worklist%, open both files in new tabs, clone, change title
- Replace "worklist" in references with "pydata", save and publish
- We will now edit both files to display our graph
Todo: Graph Gadget HTML (Gist)
    <html>
            <head>
            <meta http-equiv="Content-type" content="text/html; charset=utf-8" />
            <meta name="viewport" content="width=device-width, user-scalable=no" />
            <title>PyData Graph</title>
            <script src="rsvp.js" type="text/javascript"></script>
            <script src="renderjs.js" type="text/javascript"></script>
            <script src="gadget_global.js" type="text/javascript"></script>
            <script src="gadget_erp5_page_pydata.js" type="text/javascript"></script>
            </head>
            <body>
            </body>
            </html>
- This is a default gadget setup with some HTML.
- Gadgets should be self containable so they always include all dependencies
- RenderJS is using a custom version of RSVP for promises (we can cancel promises)
- The global gadget includes promisified event binding (single, infinite event listener)
Todo: Graph Gadget JS (Gist)
    /*global window, rJS, RSVP, URI */
            /*jslint nomen: true, indent: 2, maxerr: 3 */
            (function (window, rJS, RSVP, URI) {
            "use strict";
            rJS(window)
            // Init local properties
            .ready(function (g) {
            g.props = {};
            })
            // Assign the element to a variable
            .ready(function (g) {
            return g.getElement()
            .push(function (element) {
            g.props.element = element;
            });
            })
            // Acquired methods
            .declareAcquiredMethod("updateHeader", "updateHeader")
            // declared methods
            .declareMethod("render", function () {
            var gadget = this;
            return gadget.updateHeader({
            page_title: 'PyData'
            })
            });
            }(window, rJS, RSVP, URI));
Todo: Save, refresh web app
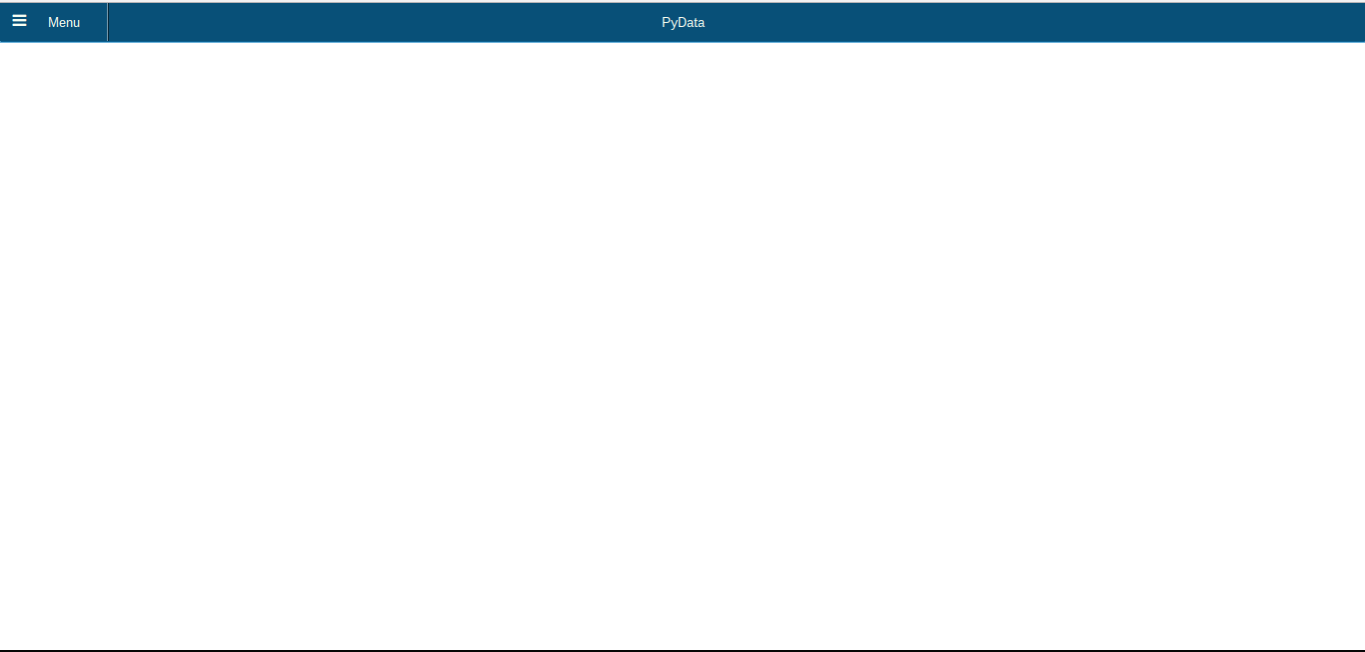
- Once you saved your files, go back to the web app and refresh
- You should now have a blank page with header set correctly
- We will now add fetch our graph and display it
Todo: Update Graph Gadget HTML (Gist)
    <!DOCTYPE html>
            <html>
            <head>
            <meta http-equiv="Content-type" content="text/html; charset=utf-8" />
            <meta name="viewport" content="width=device-width, user-scalable=no" />
            <title>PyData Graph</title>
            <!-- renderjs -->
            <script src="rsvp.js" type="text/javascript"></script>
            <script src="renderjs.js" type="text/javascript"></script>
            <!-- custom script -->
            <script src="dygraph.js" type="text/javascript"></script>
            <script src="gadget_global.js" type="text/javascript"></script>
            <script src="gadget_erp5_page_pydata.js" type="text/javascript"></script>
            </head>
            <body>
            <div class="custom-grid-wrap">
            <div class="custom-grid ui-corner-all ui-body-inherit ui-shadow ui-corner-all"></div>
            </div>
            <div data-gadget-url="gadget_ndarray.html"
            data-gadget-scope="ndarray"
            data-gadget-sandbox="public">
            </div>
            </body>
            </html>
- Took from existing project, HTML was created to fit a responsive grid of graphs
- Added JS library for multidimensional arrays: NDArray
- Added JS libarary for displaying graphs: Dygraph
Todo: Graph Gadget JS (1) (Gist)
    /*global window, rJS, console, RSVP, Dygraph */
            /*jslint indent: 2, maxerr: 3 */
            (function (rJS) {
            "use strict";
            var ARRAY_VALUE_LENGTH = 8,
            OPTION_DICT = {
            start_date: 0,
            time_factor: 1000,
            resolution: 1,
            xlabel: 'x',
            ylabel: 'y',
            key_list: ["Channel 1", "Date"],
            label_list: ["Date", "Channel 1"],
            series_dict: {
            "Channel 1": {
            axis : "y",
            color: "#00884B",
            pointSize: 1,
            visible : true,
            connectSeparatedPoints: true
            }
            },
            axis_dict: {
            y: {position : "left", axisLabelColor: "grey", axisLabelWidth : 40, pixelsPerLabel : 30},
            x: {drawAxis : true, axisLabelWidth : 60, axisLabelColor: "grey", pixelsPerLabel : 30}
            },
            connectSeparatedPoints: true
            };
            ...
- First we only defined options for the Dygraph plugin
- In production system these are either set as defaults or stored along with respective data
Todo: Graph Gadget JS (2) (Gist)
    function generateInitialGraphData(label_list) {
            var i,
            data = [[]];
            for (i = 0; i < label_list.length; i += 1) {
            data[0].push(0);
            }
            return data;
            }
            function convertDateColToDate(gadget, array) {
            var label_list = gadget.property_dict.option_dict.label_list,
            time_factor = gadget.property_dict.option_dict.time_factor,
            time_offset = gadget.property_dict.option_dict.time_offset || 0,
            i,
            k;
            for (k = 0; k < label_list.length; k += 1) {
            if (label_list[k] === "Date") {
            for (i = 0; i < array.length; i += 1) {
            array[i] = [i, array[i]];
            }
            }
            }
            return array;
            }
            ...
- Add methods outside of the promise chain
- Simplified (removed actual creation of date objects)
Todo: Graph Gadget JS (3) (Gist)
    rJS(window)
            .ready(function (gadget) {
            gadget.property_dict = {};
            return gadget.getElement()
            .push(function (element) {
            gadget.property_dict.element = element;
            gadget.property_dict.option_dict = OPTION_DICT;
            });
            })
            .declareAcquiredMethod("jio_getAttachment", "jio_getAttachment")
            // render gadget
            .declareMethod('render', function () {
            var gadget = this,
            interaction_model = Dygraph.Interaction.defaultModel,
            option_dict = {},
            url;
            url = "http://softinstxxxx/erp5/web_site_module/pydata_runner/hateoas/data_array_module/[your_id]";
            ...
- "ready" triggered once gadget is loaded
- define gadget specific parameters
- "render" called by parent gadget or automatically
- we hardcode url parameter, by default it would be URL based
Todo: Graph Gadget JS (4) (Gist)
    return new RSVP.Queue()
            .push(function () {
            return gadget.jio_getAttachment("erp5", url, {
            start : 0,
            format : "array_buffer"
            });
            })
            .push(function (buffer) {
            var array_length,
            length,
            array,
            array_width = 1;
            array_length = Math.floor(
            buffer.byteLength / array_width / ARRAY_VALUE_LENGTH
            );
            length = buffer.byteLength - (buffer.byteLength % ARRAY_VALUE_LENGTH);
            if (length === buffer.byteLength) {
            array = new Float64Array(buffer);
            } else {
            array = new Float64Array(buffer, 0, length);
            }
            return nj.ndarray(array, [array_length, array_width]);
            })
            ...
- Orchestrated process starting with a cancellable promise queue
- First step requesting the full file (NOT OUT-OF-CORE compliant - we load the whole file)
- Return file converted into ndarray
Todo: Graph Gadget JS (5) (Gist)
    .push(function (result) {
            var i,
            data = [],
            ndarray = result,
            label_list =  gadget.property_dict.option_dict.label_list,
            key_list = gadget.property_dict.option_dict.key_list;
            for (i = 1; i < label_list.length; i += 1) {
            data = data.concat(
            nj.unpack(
            ndarray.pick(
            null,
            key_list.indexOf(label_list[i])
            )
            )
            );
            }
            data = convertDateColToDate(gadget, data);
            gadget.property_dict.data = data;
            return gadget
            });
            })
            .declareService(function () {
            var gadget = this;
            return gadget.property_dict.graph = new Dygraph(
            gadget.property_dict.element,
            gadget.property_dict.data,
            gadget.property_dict.option_dict
            );
            });
            }(rJS));
- Convert data into graph compatible format, store onto gadget
- "declareService" triggered once UI is built
- Graph will be rendered there.
Todo: Refresh Web Application
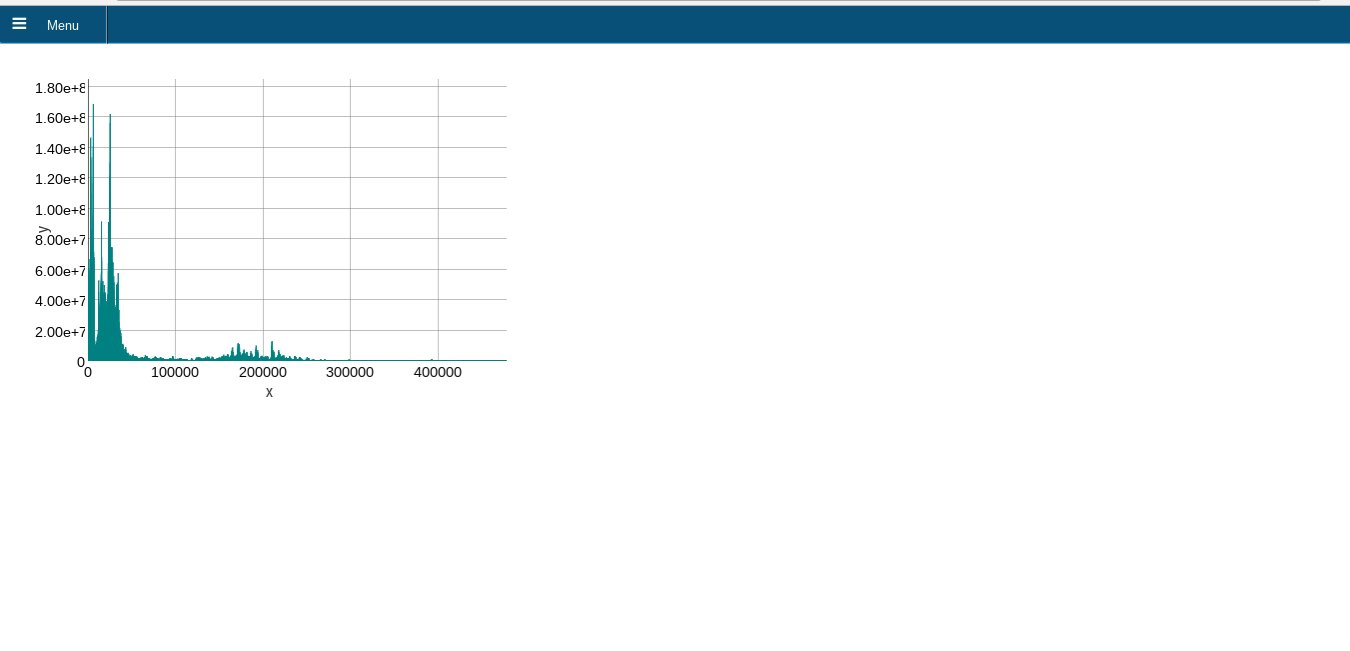
- Not out-of-core compliant, but jIO already allows to fetch ranges
- Example computes client-side as project requires to work offline "in the field"
- Ongoing process to fix libraries to work asynchronously and Big Data aware